How to Use the Embroidery Digitizing Spec Sheet Prompt to Turn a Logo Into Clean Stitches on Polos and Caps
Turn a logo into a spec sheet an embroidery digitizer can follow for polos, caps, and jackets: simplify details that cannot be stitched, set sizes per placement, pick satin, fill, and running stitches per element, specify underlay, density, and pull compensation for the fabric, match brand colors to thread, estimate stitch count, and list the machine file formats to deliver.
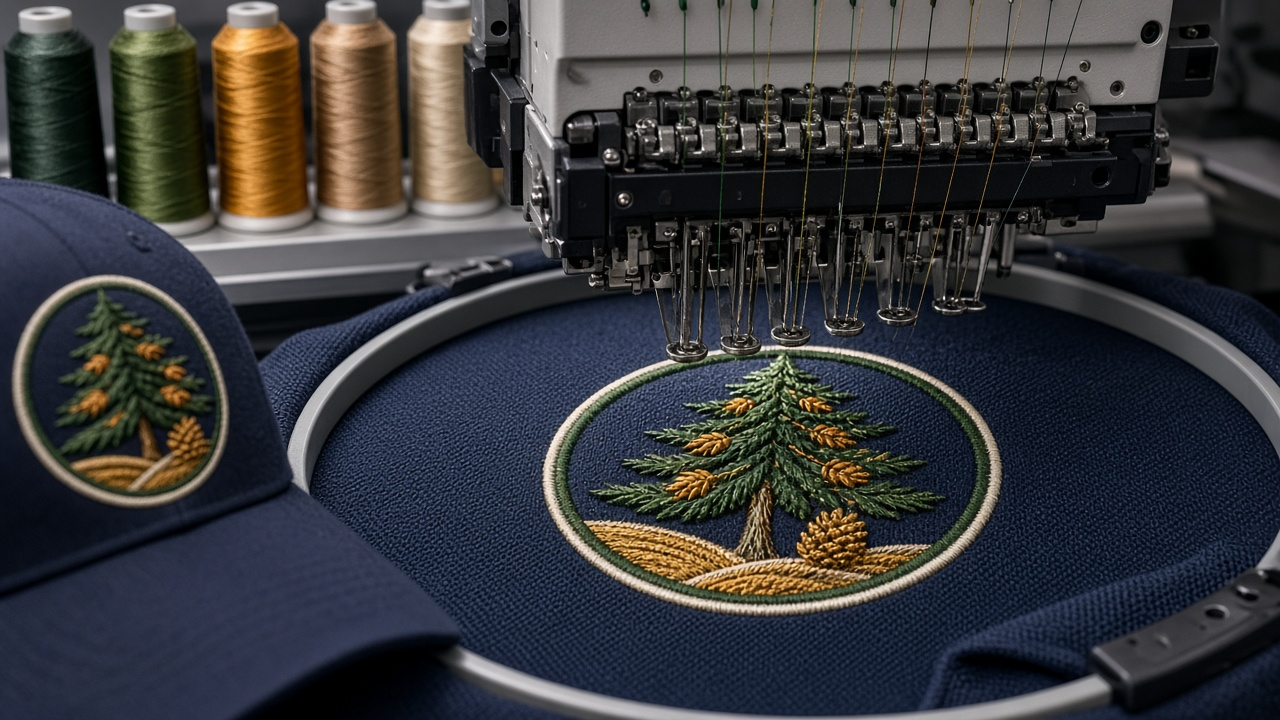
A logo that looks crisp on a screen can turn into puckered fill and unreadable letters on a pique polo. The difference is in decisions made before digitizing: how small the text can go, which areas become satin or fill, how much underlay the fabric needs, and how brand colors map to thread. The Embroidery Digitizing Spec Sheet Writer: Logo Simplification, Minimum Text Height, Satin vs Fill Choices, Underlay and Pull Compensation, Thread Color Matching, and DST or PES File Handoff prompt writes a spec sheet for each placement so the digitizer and the client agree on those decisions before the first stitch.
What the prompt produces
- A stitchability review of each logo element at each placement size, with simplifications for anything too small or too fine.
- A stitch type plan choosing satin, fill, or running stitch for each element.
- Underlay and density guidance for each fabric, from pique to fleece to twill.
- Pull compensation notes so shapes still meet after the fabric pulls in.
- Cap specific rules for structured fronts, including sequencing from the center out.
- Thread color matching from Pantone or hex values, with a reminder to confirm on a real chart.
- A stitch count estimate range for quoting.
- A file handoff list with machine formats and a sew out approval step.
How to fill the inputs
LogoElements describes the logo piece by piece: shapes, text and font, the smallest details, gradients, and outlines. The more specific you are, the better the review.
Placements lists where the logo goes and at what size: left chest, cap front, full back, or sleeve.
Garments names the fabric for each placement. A stretchy performance knit needs very different handling than a twill jacket.
BrandColors gives Pantone or hex values for the logo colors.
ShopSetup names the machines and thread line, if known, so file formats and color matches fit what the shop actually has.
Reading the example output
The example prepares a circular brewery badge for polos, caps, and jackets:
- Small text is caught early. A thin serif name around the ring would be under a quarter inch tall at left chest size. The prompt recommends a bolder face at a readable height, or dropping the ring text at that size.
- Fine detail is simplified. Pine needles become a few tiers with a jagged edge, and a gradient sunset becomes two solid bands.
- Each placement gets its own spec. The left chest uses cutaway backing for the knit, the cap front is sequenced center out and bottom up, and the full back keeps the tagline because it finally has room.
- Thread matches are named as nearest matches, with approval on a sew out on the actual garment color.
- Stitch counts are ranges for quoting, with the final count coming from the digitized file.
- The file handoff includes a color sequence sheet, because DST files carry no color information.
Tips for better results
- Send the vector logo to the digitizer, but use this spec to decide what changes before digitizing starts.
- Ask for a sew out on each garment type. A cap and a polo can behave very differently.
- Create a simplified embroidery version of the logo and keep it with your brand files.
- Run the prompt again for new placements like sleeves or beanies instead of reusing the left chest spec.
- Keep the thread numbers from the approved sew out so reorders match.
Mistakes to avoid
- Do not shrink a full logo to left chest size and expect the tagline to read.
- Do not skip stabilizer choices. Wrong backing is a common cause of puckering.
- Do not treat estimated stitch counts as final prices.
- Do not digitize logos the client does not own. Confirm rights first.
Who it is for
Custom apparel shops, embroidery digitizers, promotional product sellers, brand designers preparing logos for merchandise, and small businesses ordering branded uniforms.
Related PromptDig links
Open the Embroidery Digitizing Spec Sheet Writer: Logo Simplification, Minimum Text Height, Satin vs Fill Choices, Underlay and Pull Compensation, Thread Color Matching, and DST or PES File Handoff prompt and describe your logo and placements. For more design and production prompts, Browse more prompts. If you have a design handoff prompt that works, Share a prompt.