How to Use the At Home Road Bike Fit Checklist Prompt to Adjust Your Bike One Change at a Time
Fit your own road bike at home in a safe order: saddle height from the heel method and a knee angle check on video, saddle setback and tilt, reach, stack, stem, and hood adjustments, cleat position, one change at a time with a ride log, and the warning signs that mean it is time to book a professional bike fitter or see a clinician.
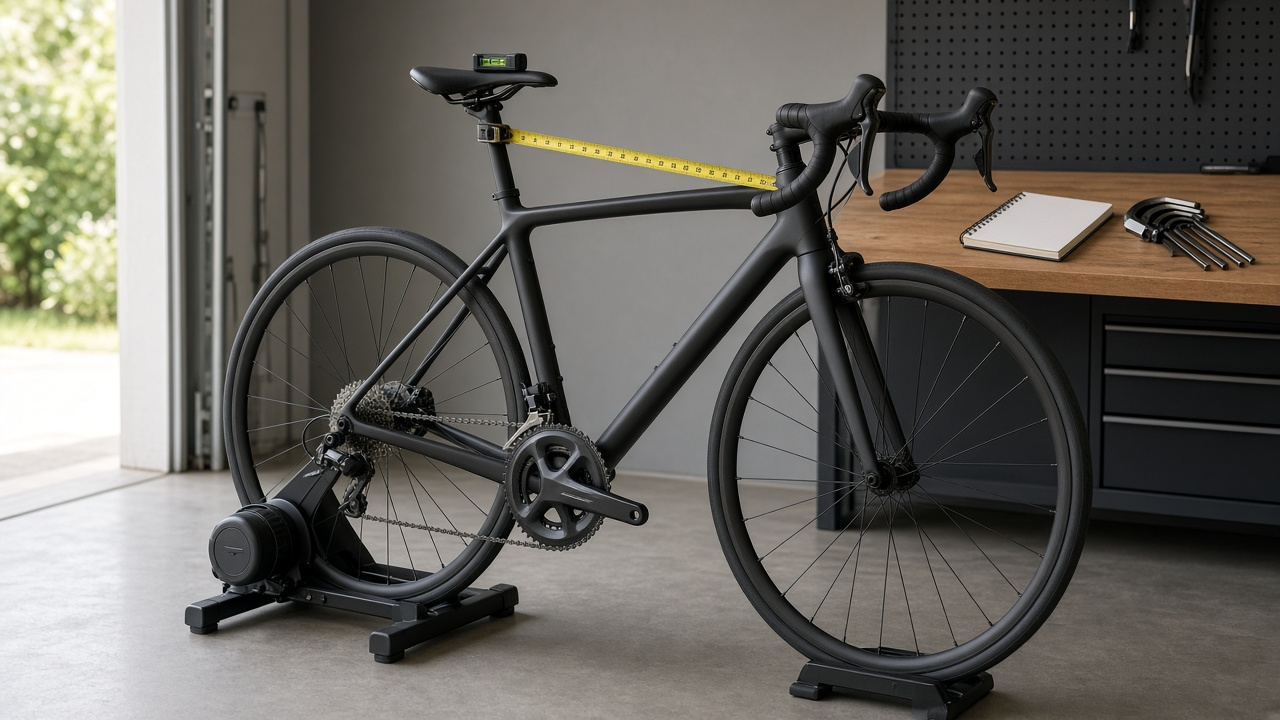
Knee pain on climbs, numb hands, and sliding forward on the saddle are common reasons riders start adjusting their road bikes. The trouble is changing three things at once and never knowing which one helped. The At Home Road Bike Fit Checklist: Saddle Height by Heel Method and Knee Angle Range, Saddle Setback and Tilt, Reach and Stack and Handlebar Adjustments, Cleat Position, One Change at a Time Ride Log, and Red Flags for a Professional Fitter prompt walks you through an at home fit in a safe order: saddle height, setback and tilt, reach and stack, cleats, then a ride log that tracks one change at a time. It also tells you when to stop and book a professional fitter or see a clinician.
What the prompt produces
- A baseline record of every current measurement, with tape marks before anything moves.
- A saddle height plan using the heel method, an inseam formula as a starting reference, and a knee angle check on side video.
- Setback and tilt guidance, starting from a level saddle.
- Reach and stack steps in order: hoods and bar roll, spacers, then stem.
- Cleat position with fore and aft placement, rotation, and float.
- A one change at a time schedule with a ride log for symptoms.
- Safety checks for minimum insertion and torque values.
- Red flags that mean it is time for a professional fitter or a clinician.
How to fill the inputs
RiderMeasurements covers your height, inseam measured with a book against the wall, flexibility, and any known leg length difference.
BikeSetup lists frame size, saddle height from the bottom bracket center to the saddle top, setback, tilt, stem length and angle, spacers, bar width, and crank length. Measure carefully and write it down.
ShoesAndCleats names your pedal system, cleat float, and where the cleats sit now.
Symptoms describes where it hurts or goes numb, when in the ride, and on which side. This decides the order of changes.
RidingGoals gives your usual ride length and any event you are training for.
Tools lists what you have, such as a phone level app, torque wrench, tripod, and indoor trainer.
InjuryHistory covers past injuries or surgeries. If you have any, the prompt is more cautious.
Reading the example output
The example rider has front knee pain on climbs, numb hands after about forty minutes, and a saddle tilted well nose down:
- The baseline comes first, with photos on the trainer before any change.
- Saddle height is checked three ways: heel method, an inseam formula as a reference only, and knee angle on video.
- The saddle goes up in small steps of about five millimeters, two or three rides apart, and stops when the hips start to rock.
- The tilt is leveled before anything else, because sliding forward puts extra weight on the hands.
- Reach changes come in order: hood angle first, then spacers, then a shorter stem only if needed.
- Cleats move back a few millimeters so the pedal spindle sits under or just behind the ball of the foot, with a reminder to recheck saddle height.
- The ride log scores knees and hands on a simple scale after each ride.
- The red flags are specific: pain into the next day, swelling, lasting numbness, or pain on one side only.
Tips for better results
- Mark the seatpost and stem with tape before you loosen anything. You can always go back.
- Film from the side on a trainer with the phone level with the bottom bracket.
- Give each change two or three rides before judging it.
- Use a torque wrench, especially on carbon seatposts and handlebars.
- Keep the ride log even when things feel fine. Patterns show up over weeks.
Mistakes to avoid
- Do not treat formulas or angle ranges as targets. Comfort and symptoms decide.
- Do not raise the saddle past the seatpost minimum insertion mark.
- Do not change saddle height and cleats in the same week.
- Do not ride through sharp or lasting pain. That is a reason to see a professional.
Who it is for
Road cyclists setting up a new bike, riders training for a long event, people returning to cycling after a break, and anyone with mild discomfort who wants to try careful adjustments before a professional fit.
Related PromptDig links
Open the At Home Road Bike Fit Checklist: Saddle Height by Heel Method and Knee Angle Range, Saddle Setback and Tilt, Reach and Stack and Handlebar Adjustments, Cleat Position, One Change at a Time Ride Log, and Red Flags for a Professional Fitter prompt and enter your current measurements. For more lifestyle prompts, Browse more prompts. If you have a training or fitness prompt that works for you, Share a prompt.