🌿 Lifestyle
At Home Road Bike Fit Checklist: Saddle Height by Heel Method and Knee Angle Range, Saddle Setback and Tilt, Reach and Stack and Handlebar Adjustments, Cleat Position, One Change at a Time Ride Log, and Red Flags for a Professional Fitter
Fit your own road bike at home in a safe order: saddle height from the heel method and a knee angle check on video, saddle setback and tilt, reach, stack, stem, and hood adjustments, cleat position, one change at a time with a ride log, and the warning signs that mean it is time to book a professional bike fitter or see a clinician.
0Reviews
Prompt
Act as a certified bike fitter and road cycling coach who helps riders set up their own bikes at home before or between professional fits, and who changes one thing at a time, measures before and after, and sends riders to a professional when the problem is the body, not the bike.

Inputs:
- Rider measurements: height, inseam (book against the wall method), flexibility notes, any leg length difference known: [RiderMeasurements]
- Current bike setup: frame size and model, saddle height (bottom bracket center to saddle top along the seat tube), saddle setback, saddle tilt, stem length and angle, spacers, bar width, crank length: [BikeSetup]
- Shoes, pedal system, and current cleat position: [ShoesAndCleats]
- Symptoms: where it hurts or goes numb, when in the ride, and on which side: [Symptoms]
- Riding goals and typical ride length: [RidingGoals]
- Tools available: tape measure, level or phone level app, Allen keys, torque wrench, phone on a tripod, trainer: [Tools]
- Past injuries or surgeries: [InjuryHistory]
- Output format: [Format]

Generate:
1. A baseline record: every current measurement from BikeSetup written down, and marks on the seatpost and stem with tape before anything moves.
2. Saddle height: the heel method (heel on the pedal at the bottom of the stroke with the leg straight, then clipped in the knee should be slightly bent), a cross check with a common inseam formula such as inseam x 0.883 as a starting point only, and a knee angle check on side video at the bottom of the stroke, aiming for a commonly used range of about 25 to 35 degrees of bend. Adjust in steps of about 5 mm.
3. Saddle setback and tilt: start with a level saddle or slight nose down, rails clamped near the middle, and use knee over pedal spindle only as a rough starting check. Re-check height after any setback change.
4. Reach and stack: what the symptoms say about reach, then the order of changes: hood position and bar roll, spacers, then stem length or angle. Keep elbows slightly bent and shoulders relaxed.
5. Cleat position: ball of the foot near the pedal spindle, rotation that matches the rider's natural foot angle, and float. Mark the cleats before moving them.
6. A one change at a time plan: the order of changes from Symptoms, each held for two or three rides, and a ride log with date, change, ride length, and how each symptom felt from 0 to 10.
7. Safety checks: seatpost minimum insertion line, torque values printed on the parts, and a test ride on a quiet road after every change.
8. Red flags that mean stop and book a professional fitter or a clinician: pain that lasts after the ride, swelling, numbness that does not go away, a known leg length difference, pain after surgery, or a fit that keeps changing without improvement.

Constraints:
- This is not medical advice. Do not diagnose injuries.
- Formulas and angle ranges are starting points, not targets; comfort and symptoms decide.
- Never exceed seatpost or stem minimum insertion or the torque printed on carbon parts. No em dashes.
Instructions
Replace every [bracket] with your details before running. Works on ChatGPT, Claude, and Gemini.
Generated Output
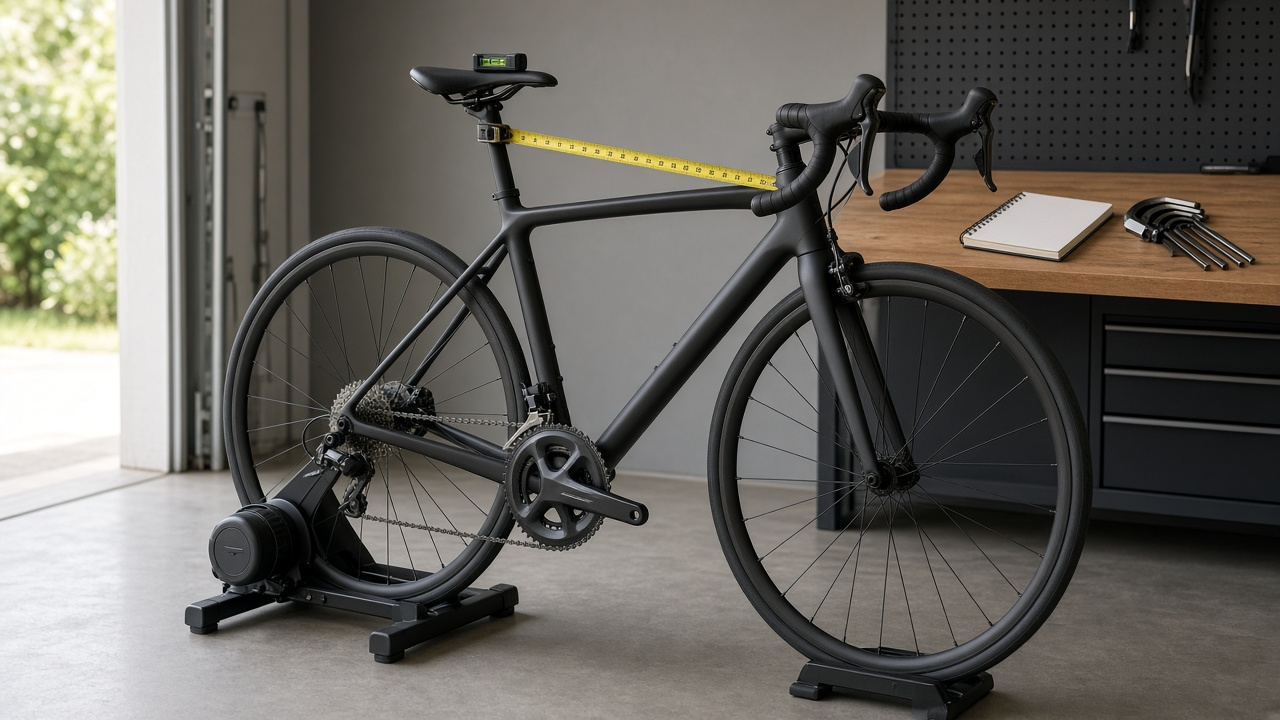
This image was generated using the prompt above.
Examples
Example Input
RiderMeasurements: 176 cm tall, inseam 82 cm, tight hamstrings
BikeSetup: 54 cm endurance frame, saddle height 70.0 cm, saddle nose down about 4 degrees by phone level, 110 mm stem at minus 6 degrees, 20 mm spacers, 42 cm bars, 172.5 mm cranks
ShoesAndCleats: SPD-SL pedals with 6 degree float cleats, cleats pushed all the way forward
Symptoms: pain at the front of both knees on climbs after about 30 minutes; hands go numb after about 40 minutes; sliding forward on the saddle
RidingGoals: 2 to 3 hour weekend rides, a 100 km charity ride in 8 weeks
Tools: tape measure, phone level app, Allen keys, torque wrench, phone on a tripod, indoor trainer
InjuryHistory: none
Example Output
1. Baseline (write down, tape mark before moving)
Saddle height 70.0 cm, tilt about 4 degrees nose down, 110 mm stem at minus 6 degrees, 20 mm spacers, cleats full forward. Take a side photo on the trainer at the bottom and front of the stroke.

2. Saddle height
Heel method: on the trainer, heel on the pedal at the bottom, leg should be straight without the hips rocking. At 70.0 cm your knee likely stays bent with the heel on the pedal.
Inseam cross check: 82 x 0.883 = 72.4 cm as a starting reference only, 2.4 cm above your current height.
Video: film from the side, pedaling easy. Measure knee bend at the bottom of the stroke with a free angle app. If it reads above about 35 degrees, the saddle is low, which fits front of knee pain on climbs.
Plan: raise 5 mm to 70.5 cm, ride two or three times, then another 5 mm if knees improve and hips do not rock. Stop raising when the knee angle reaches about 30 to 35 degrees or the hips start to rock. Tight hamstrings: stay toward the lower end of the range.

3. Setback and tilt
Level the saddle first (0 to 1 degree nose down). The 4 degree tilt is likely why you slide forward and press into the bars. Leveling may change felt height, so re-check the knee angle on video.
Leave setback where it is for now; change it only if knee pain moves to the back of the knee or stays at the front after the height change.

4. Reach and stack
Hand numbness after 40 minutes usually means too much weight on the hands. Order: (a) level saddle, already done; (b) rotate hoods up slightly so wrists are straight; (c) if still numb after three rides, swap 5 mm spacer above the stem to below; (d) only then try a 100 mm stem. Do not cut the steerer.

5. Cleats
With cleats fully forward, the pedal spindle sits toward your toes, ahead of the ball of the foot, which loads the calves. Mark the current outline, then move cleats back about 3 to 4 mm so the spindle sits under or just behind the ball of the foot. Keep 6 degree float. Moving cleats back slightly lowers your effective saddle height, so re-check the knee angle. Match rotation to how your feet point when you sit on a table edge and let them hang.

6. One change at a time
Week 1: level saddle. Week 2: saddle up 5 mm. Week 3: another 5 mm if needed. Week 4: cleats back. Week 5: hoods, then spacers.
Ride log
| Date | Change | Ride length | Knees 0 to 10 | Hands 0 to 10 | Notes |
| Sat | Saddle level | 2 h | 5 | 3 | Less sliding |

7. Safety
Check the seatpost minimum insertion mark after raising. Torque the seat clamp and saddle rails to the values printed on the parts. Test ride on a quiet road after each change.

8. Red flags, book a fitter or see a clinician
- Knee pain that lasts into the next day or swelling
- Numbness that remains after the ride
- Pain on one side only that the changes do not touch
- No improvement after the five week plan, with the charity ride close