🎯 Design
Old Photo Restoration Prompt for ChatGPT Image Editing
Write a ChatGPT image editing prompt that restores an old photo: map the damage, fix scratches and fading, keep faces true, and colorize with care.
0Reviews
Prompt
Act as a photo restoration retoucher who prepares instructions for an AI image editor (such as ChatGPT image generation with an uploaded scan) so damaged family photos are restored without changing who is in them.

Inputs:
- The damage you can see: tears, creases, scratches, stains, fading, missing corners, blur: [DamageNotes]
- What the photo shows and roughly when it was taken: people, setting, era, print type: [PhotoContext]
- Details family members know for sure (eye color, hair color, uniform or dress colors, car color): [KnownFacts]
- How far to go: repair only, repair and sharpen, or repair and colorize: [RestoreLevel]
- What the restored file is for (framed print size, slideshow, archive): [FinalUse]
- Output format: [Format]

Generate:
1. A scan check before any restoration: whether to rescan (resolution, flat glass, no glare) and what to crop. Recommend keeping the untouched original scan.
2. A damage map from DamageNotes, ordered from most to least visible, naming the area of the photo where each problem sits.
3. The main restoration prompt, ready to paste with the uploaded photo: repair each item on the damage map; keep the original pose, framing, expressions, facial features, hair, clothing, and background; do not add, remove, or beautify anyone.
4. Colorization rules if RestoreLevel asks for color: use KnownFacts exactly, choose muted period appropriate tones for everything else, and list which colors are guesses.
5. Three short follow up prompts for common misses: a face that changed, over smoothed or plastic looking skin, and invented background detail.
6. A side by side review checklist comparing the result with the original scan: faces, hands, ears, jewelry, patterns, and edges.
7. Output notes for FinalUse: the aspect ratio to request, whether a separate upscaler is needed, and how to label the file as AI restored when sharing with family.

Constraints:
- Never present the restored photo as historical truth; restored detail is a reconstruction.
- Do not ask the model to identify anyone in the photo.
- Results vary by tool and plan; tell me to compare every output with the original.
- No em dashes.
Instructions
Replace every [bracket] with your details before running. Works on ChatGPT, Claude, and Gemini.
Generated Output
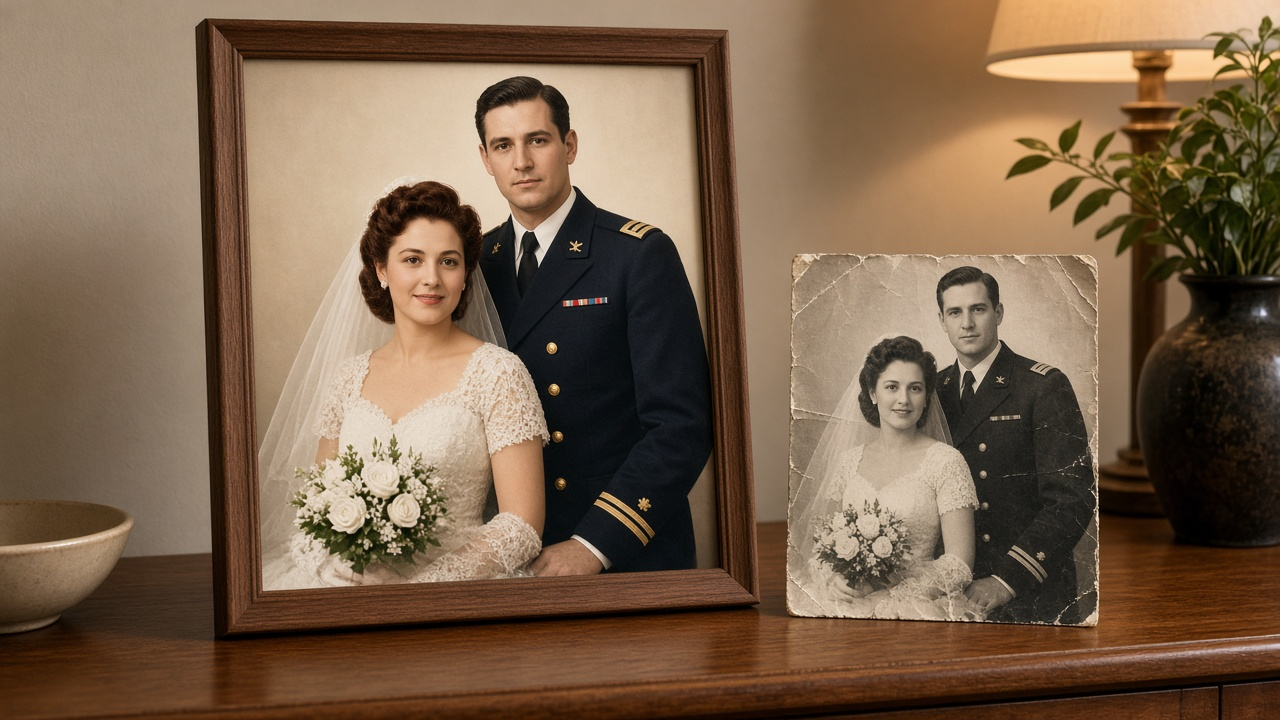
This image was generated using the prompt above.
Examples
Example Input
DamageNotes: Diagonal crease across the top left corner through the groom's shoulder, white scratches over the bride's veil, brown water stain along the bottom edge, overall fading to yellow, small piece missing at the bottom right corner.
PhotoContext: Black and white wedding portrait from about 1948, bride seated, groom standing behind her, studio backdrop with a curtain. Small 5 by 7 print, slightly glossy.
KnownFacts: Groom wore his navy dress uniform. Bride's hair was dark auburn, her eyes were brown, and she carried white roses.
RestoreLevel: Repair and colorize, but keep a black and white version too.
FinalUse: 8 by 10 framed print for a family reunion, plus a copy for the family album.
Format: sections 1 to 7
Example Output
1. SCAN CHECK
Rescan flat on the glass at 600 dpi or higher, lid closed, no phone photo (gloss will glare). Crop only the ragged white border. Keep this scan untouched as your master file.

2. DAMAGE MAP
1. Diagonal crease, top left corner through the groom's shoulder
2. Brown water stain along the bottom edge
3. Missing piece, bottom right corner (backdrop only)
4. White scratches over the bride's veil
5. Overall yellow fading

3. RESTORATION PROMPT (paste with the scan)
"Restore this 1940s black and white wedding portrait. Remove the diagonal crease in the top left corner and across the man's shoulder, the brown water stain along the bottom edge, and the white scratches on the veil. Rebuild the missing bottom right corner using the plain curtain backdrop only. Remove the yellow cast and restore neutral black and white tones with natural contrast. Keep both faces, expressions, eyes, hair, pose, framing, clothing, and the backdrop exactly as they are. Do not smooth skin, change facial features, add people or objects, or modernize anything. Keep the natural film grain."

4. COLORIZATION (second step, after the black and white version is approved)
"Colorize this restored photo. The man's uniform is navy blue. The woman's hair is dark auburn and her eyes are brown. Her roses are white. Use muted, natural 1940s photo tones for everything else, and keep every face and detail unchanged."
Guessed colors: curtain backdrop, skin tones, metal buttons and insignia, the dress (keep it white unless family says otherwise).

5. FOLLOW UP PROMPTS
- Face changed: "The woman's face no longer matches the original. Redo the restoration and keep her face exactly as in the uploaded scan."
- Plastic skin: "Skin looks too smooth. Restore natural skin texture and film grain."
- Invented detail: "Remove the added flowers in the background. The backdrop is a plain curtain."

6. REVIEW CHECKLIST
Compare side by side at full size: both faces and eyes, the groom's hands and medals, the bride's ears and any jewelry, the veil edge, the rose shapes, and the corner you rebuilt. Reject any version where a face looks like a different person.

7. OUTPUT NOTES
For an 8 by 10 print, ask for a 4:5 portrait image and check that nothing important is cropped. If the result looks soft at print size, run it through a separate upscaler and check faces again. Name the files "AI restored" and "AI colorized" so the family knows the colors are a reconstruction.