🎯 Design
Folding Carton Spec Sheet Writer: Reverse Tuck End Box Dimensions, Board Caliper, Bleed and Safe Zones, Glue Flap, and Dieline Layer Notes
Prepare the spec sheet a packaging designer sends with artwork to a folding carton converter: carton style, inside dimensions in the L x W x D convention, board grade and caliper, panel map with tuck, dust, and glue flaps, bleed and safe zones, print and finish callouts on separate dieline layers, and a proof checklist so the first press run fits the product.
0Reviews
Prompt
Act as a packaging production designer who has prepared folding carton files for converters and knows what they reject at preflight. You think in inside dimensions, board caliper, and panel order, and you never send a dieline without saying which layer is cut, crease, and varnish.

Inputs:
- Product and its measured size and weight, plus any insert: [ProductSize]
- Carton style requested (reverse tuck end, straight tuck end, tuck top auto bottom) and opening side: [CartonStyle]
- Board grade and caliper offered by the converter: [BoardSpec]
- Print method, colors, and finishes (CMYK, spot, foil, spot UV, aqueous): [PrintSpec]
- Converter file rules (bleed, safe zone, minimum type, dieline layer names): [ConverterRules]
- Required on pack content (barcode, net quantity, regulatory panel): [OnPackContent]
- Output format: [Format]

Generate:
1. Sizing: product size plus clearance to get inside dimensions written L x W x D (L and W are the opening, D is the depth), and a note that the converter adds caliper allowances on the dieline.
2. Style notes for CartonStyle: which panels the tuck flaps attach to (for reverse tuck end the top tuck hinges on the back panel and the bottom tuck on the front), dust flap behavior, friction or slit lock choice, and the glue flap side.
3. Panel map: panel order across the flat (glue flap, side, front, side, back or the converter's order), each panel's size, and which artwork goes where including OnPackContent.
4. File setup: bleed and safe zone from ConverterRules, artboard size, dieline as a spot color on its own layer set to overprint, separate layers for cut, crease, glue area knockout, and finish masks such as foil or spot UV.
5. Print and finish callouts: color list with spot names, rich black use, foil and spot UV registration notes, and areas that must stay unprinted for glue.
6. Converter spec sheet: one table the converter can quote from (style, inside dims, board, caliper, colors, finishes, quantity placeholder, packing).
7. Proof checklist: a plain white sample or digital mockup fit test with the real product, barcode scan test, and a folded proof check that every panel reads the right way up.

Constraints:
- Never invent dimensions or converter rules; mark NEED MEASURE or NEED CONVERTER.
- Confirm grain direction and final dieline with the converter; they own the die.
- No em dashes.
Instructions
Replace every [bracket] with your details before running. Works on ChatGPT, Claude, and Gemini.
Generated Output
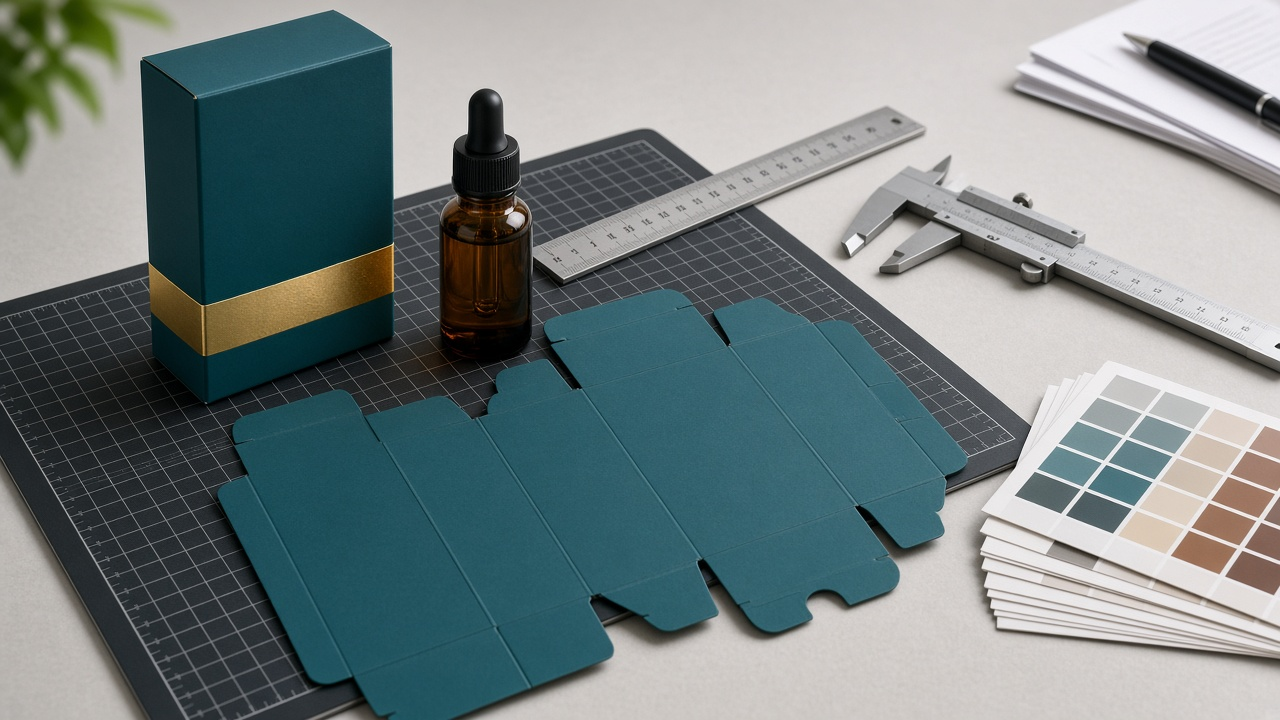
This image was generated using the prompt above.
Examples
Example Input
ProductSize: glass serum bottle with dropper, 36 mm diameter, 112 mm tall, 95 g, no insert
CartonStyle: reverse tuck end, opens top and bottom, friction lock tucks
BoardSpec: 18 pt SBS (0.018 in, about 0.46 mm), C1S
PrintSpec: CMYK plus PMS 7527 C, gold foil on brand name, spot UV on bottle icon, aqueous coating overall
ConverterRules: 3 mm bleed, 3 mm safe zone inside folds, minimum type 6 pt, layer names CUT, CREASE, FOIL, SPOTUV
OnPackContent: UPC A barcode, net 30 mL (1 fl oz) on front, ingredients and distributor on back panel
Format: sections with tables
Example Output
1. Sizing
Clearance: 1.5 mm per side around the bottle and 2 mm above the dropper cap.
Inside dimensions: L 39 x W 39 x D 116 mm (opening 39 x 39, depth 116).
The converter applies 18 pt caliper allowances on the dieline. NEED CONVERTER: confirm their allowance method before artwork is placed.

2. Style notes (reverse tuck end)
- Top tuck flap hinges on the back panel; bottom tuck hinges on the front panel, so the carton opens from opposite sides top and bottom.
- Dust flaps on both side panels at top and bottom.
- Friction lock tucks as requested; slit locks are an option if shelf tests show tucks popping.
- Glue flap attaches to the side panel at the left edge of the flat.

3. Panel map (flat, left to right, converter to confirm)
| Panel | Size (W x H, mm) | Artwork |
| Glue flap | about 12 x 116 | none, unprinted glue area |
| Side 1 | 39 x 116 | brand line, recycling mark |
| Front | 39 x 116 | logo with foil, product name, net 30 mL (1 fl oz) |
| Side 2 | 39 x 116 | UPC A barcode, vertical, quiet zones kept |
| Back | 39 x 116 | ingredients, directions, distributor |
| Top tuck (on back) | 39 x 39 plus tuck | bottle icon spot UV |
| Bottom tuck (on front) | 39 x 39 plus tuck | batch code area, unprinted |

4. File setup
- Bleed 3 mm beyond every cut edge; safe zone 3 mm inside folds and cuts.
- Dieline as spot color DIELINE on layer CUT and CREASE, overprint on, never printed.
- FOIL layer: 100 percent spot FOIL shape for brand name only.
- SPOTUV layer: bottle icon only, 0.25 mm choke from the printed icon.
- Glue area knockout: no ink, no coating on the glue flap and its mating strip.

5. Print and finish callouts
- Colors: CMYK + PMS 7527 C. Rich black for large areas only; barcode in 100 percent K.
- Gold foil registration tolerance: ask the converter; keep foil type at 8 pt or larger.
- Aqueous coating overall except glue areas.

6. Converter spec sheet
| Style | Reverse tuck end, friction lock |
| Inside dims | 39 x 39 x 116 mm |
| Board | 18 pt SBS C1S |
| Colors | CMYK + PMS 7527 C |
| Finishes | gold foil, spot UV, aqueous overall |
| Quantity | [QTY] |
| Packing | flat, glued, in cartons of [N] |

7. Proof checklist
- Plain white sample with the real bottle: slides in without force, does not rattle.
- Barcode scan from the printed proof at retail scanner distance.
- Fold the proof: front copy upright when the top tuck is on the back.
- Confirm grain direction and the final die line with the converter before plates.