How to Use the Vehicle Wrap Artwork Spec Prompt to Prepare a Fleet Van Wrap for Print
Write the production spec a wrap shop needs before printing a van or truck wrap: vehicle template and scale, raster resolution at full size, measurements taken from the real vehicle, bleed per panel, keep out zones over handles, seams, and deep body lines, how the art splits into print panels with overlaps, perforated window film, and a proof sheet for customer sign off.
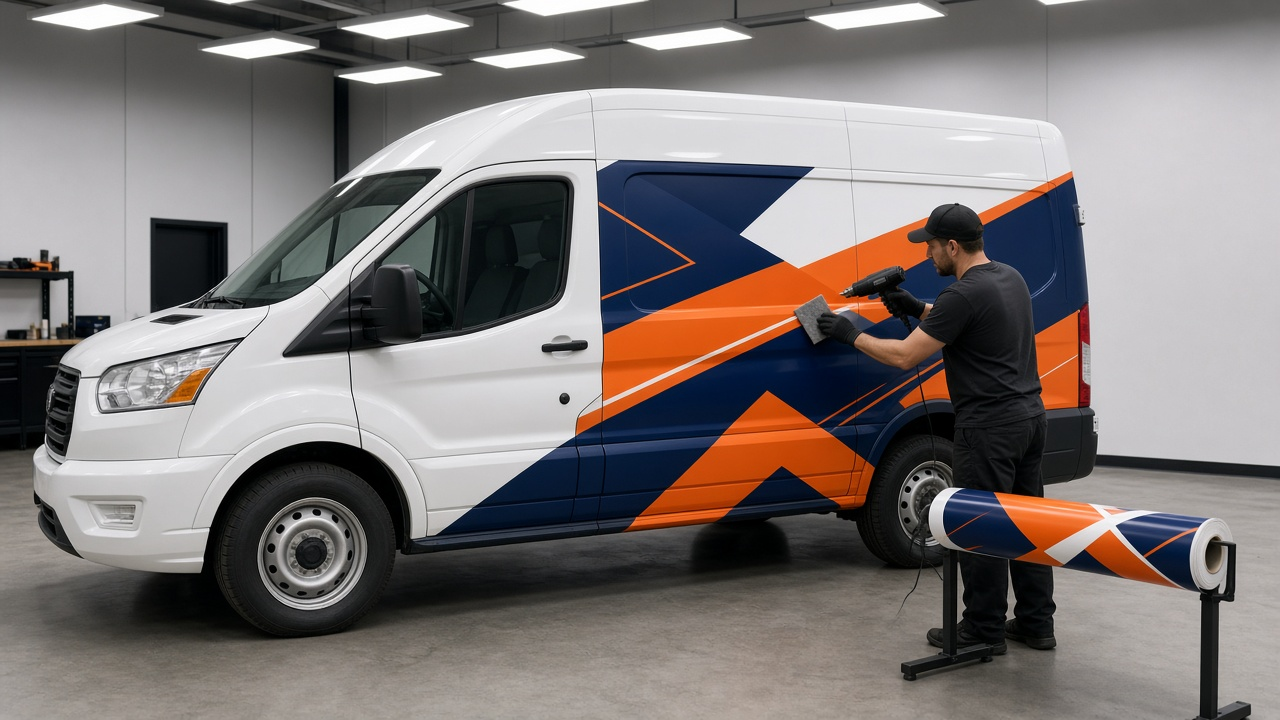
A van wrap is a large format print job on a curved, ribbed, door covered surface. Designs that look perfect on a flat template can fail on the vehicle: a phone number lands on a door handle, a logo gets split by a print seam, or the art comes up two inches short because the template did not match the real van. The Vehicle Wrap Artwork Spec Writer for Fleet and Service Vans: Template Scale and Resolution, Real Vehicle Measurements, Bleed per Panel, Body Line and Door Handle Keep Out Zones, Print Panel Seams, Window Perf, and a Proof Sheet prompt writes the production spec a wrap shop needs before anything is printed, from file scale and resolution to keep out zones, panel layout, and a customer proof sheet.
What the prompt produces
- A file setup block with template source, working scale, resolution at full size, color mode, spot color callouts, and which elements stay vector.
- A measurement reconciliation table comparing the template with the real vehicle and flagging anything off by more than an inch.
- Bleed per panel in inches at full size so installers can wrap into recesses and trim cleanly.
- Keep out zones for each side: handles, fuel door, body seams, deep lines, rivets, rub strips, lights, and the sliding door track.
- A content hierarchy with minimum sizes for logo, phone, website, services, and required DOT or license text.
- A print panel layout showing how each side splits at the media width, the overlap, and where seams fall.
- A window section for perforated film or clear glass.
- A customer proof sheet with views, confirmation items, and a sign off line.
How to fill the inputs
VehicleSpec gives year, make, model, roof height, wheelbase, and anything that stays on, such as a ladder rack.
Coverage states full, partial, or spot graphics and which surfaces are included.
DesignBrief carries brand colors, Pantone references, logo files, required content, and the services list.
Measurements should come from the actual vehicle with a tape measure. Templates are a starting point, not the truth.
PrintSetup describes the printer, media width, film and laminate, and the scale the shop wants.
WindowPlan says whether rear windows get perforated film and pastes any local rules the owner has.
Reading the example output
The example is a high roof cargo van for a plumbing company with a full wrap on both sides and the rear doors:
- The resolution math is spelled out. At 1:10 scale, 150 ppi in the working file is only 15 ppi at full size, so photos need 1500 ppi in the scaled file or the design should stay photo free.
- The template is caught short. It lists the driver side at 234 inches, but the van measures 236, so the art stretches and the side gets remeasured.
- Bleed is generous where it matters: 3 inches on every edge and 4 inches around the sliding door and wheel arches.
- Keep out zones are listed per side, so the phone number never sits on a handle or the B pillar seam.
- The hierarchy gives real sizes, such as a phone number cap height of at least 6 inches in white on navy.
- Seams are planned, with roughly 54 inch print panels, a 1 inch overlap, and seams on the pillar, door edges, and flat color areas.
- The proof sheet protects everyone. The customer confirms spelling, numbers, approximate screen colors, and any existing paint damage before print.
Tips for better results
- Measure at several heights on each side. Vans are not perfect boxes, and the difference adds up.
- Photograph each side straight on and note dents or chips so they go on the proof.
- Keep critical information on the flattest areas of the vehicle, high enough to be seen over parked cars.
- Ask the installer where they prefer seams before you lay out panels.
Mistakes to avoid
- Do not trust a template dimension you have not checked against the vehicle.
- Do not split a logo, face, or phone number across a print seam.
- Do not place text on perforated window film where it will be hard to read.
- Do not send to print without a signed proof that lists exactly what the customer approved.
Who it is for
Wrap shop designers and production managers, sign companies adding vehicle graphics, in house designers at service businesses with fleets, and freelance designers handing artwork to a print partner.
Related PromptDig links
Open the Vehicle Wrap Artwork Spec Writer for Fleet and Service Vans: Template Scale and Resolution, Real Vehicle Measurements, Bleed per Panel, Body Line and Door Handle Keep Out Zones, Print Panel Seams, Window Perf, and a Proof Sheet prompt and add your vehicle measurements. For more design prompts, Browse more prompts. If you have a print production or signage prompt that works well, Share a prompt.