How to Use the Offset Print Preflight Spec Writer Prompt to Hand Off Print Files That Pass the First Time
Turn a printer's spec sheet and an Acrobat or InDesign preflight report into a fix list a designer can act on: a spec lock table with ASK PRINTER gaps, coverage and rich black fixes, spot ink cleanup, effective PPI math for every placed image, fold and bleed checks, and a PDF/X export recipe before upload.
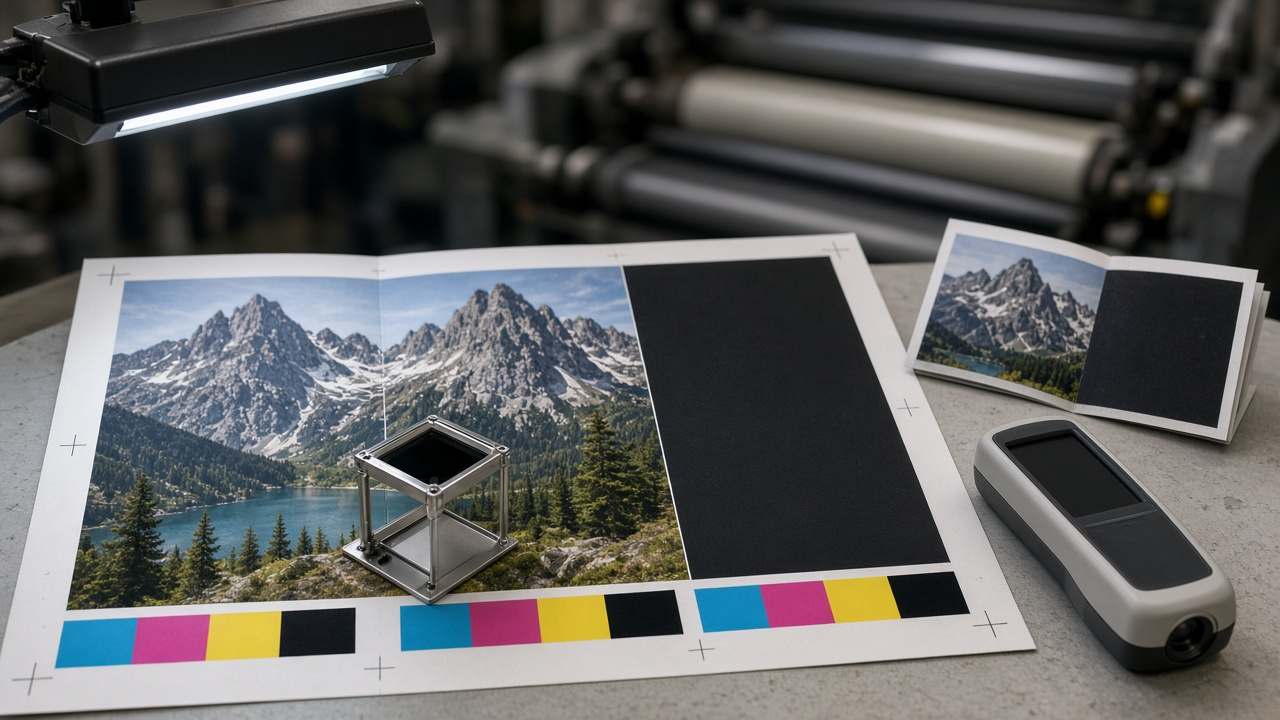
A print job rarely fails because of the design itself. It fails because a photo has too much ink in the shadows, a logo uses two names for the same Pantone, a footer is set in four color black at 6 points, or the PDF went out with the wrong profile. The printer catches it, the job goes on hold, and the deadline slips. The Offset Print Preflight Spec Writer: PDF/X-4 Export Settings, Bleed and Safe Zone, Total Area Coverage Limit, Rich Black Build, Overprint Checks, and Effective PPI for a Commercial Printer Handoff prompt works like a prepress technician sitting next to you. It reads the printer's spec sheet and your preflight report, then writes a fix list in plain language with the exact settings to change.
What the prompt produces
- A spec lock table that restates every value from the printer's spec sheet and shows where each one is set in your layout app. Anything the printer did not state is marked ASK PRINTER instead of being filled in with a guess.
- A document setup check for trim, bleed, safe zone, and folds, including a reminder that folded pieces often have unequal panel widths.
- Color fixes for RGB content, total area coverage hotspots, rich black use, and black text overprint.
- A spot ink plan that merges duplicate swatches and decides whether each spot stays a separate plate or converts to process.
- Effective PPI math for every placed image, shown step by step, with a clear resize, replace, or sign off call.
- A severity rated fix table that turns each preflight line into what it means on press and how to fix it.
- An export recipe and final checklist for the PDF standard your printer asked for.
How to fill the inputs
PrinterSpecs is the spec sheet or the email from your printer, pasted as is. Bleed, safe zone, output intent, ink limit, rich black recipe, minimum line weight, PDF standard, and minimum PPI are the values that matter most. If a value is missing, the prompt will tell you to ask.
PieceSpec describes the job: flat and finished size, fold type, page count, paper stock, coated or uncoated, and how many colors print on each side.
LayoutApp names the software and version, so the fixes point to settings you can actually find.
PreflightReport is the list of findings from Acrobat Pro Preflight, your app's live preflight panel, or the printer's automated file check. Paste every line, even the ones you think are harmless.
ImageList gives each image's native pixel size and its placed size in inches. If your app shows effective PPI directly, paste that instead.
SpotInks lists Pantone swatches and any special plates such as varnish, white, or foil.
Reading the example output
The example checks a letter fold tri-fold brochure built in InDesign for a coated 4/4 job:
- The spec lock maps each value to a setting. Bleed goes in Document Setup, the coverage limit is checked with the Ink Limit view in Separations Preview, and the output intent goes in the export dialog. Fold panel widths are marked ASK PRINTER because the spec sheet did not include them.
- The one blocker is ink coverage. Shadows in the hero photo reach 342 percent against a 300 percent limit. The fix is to convert with the printer's profile rather than hand editing channels, then confirm no red areas remain in the Ink Limit view.
- Small type is moved off rich black. The 6 point legal footer is changed to 100 percent black with overprint on, so registration cannot blur it.
- Duplicate spot names are merged. Two names for the same blue are reduced to one, and because no fifth color was quoted, it converts to process.
- The PPI math is visible. The map image works out to about 245 PPI against a 250 minimum, so the prompt recommends a larger export and shows the size that clears the bar.
- The export recipe is specific. PDF/X-4 with live transparency, crop marks offset past the bleed, document bleed settings on, and conversion to the printer's destination profile.
Tips for better results
- Ask the printer for their spec sheet and fold template before you start layout, not at the end.
- Run preflight with the profile your printer recommends, so the findings match what their system will flag.
- Keep a copy of the original preflight report and rerun it after fixes, then compare the two.
- Treat the checklist as a gate. If any BLOCKER row is open, do not upload.
Mistakes to avoid
- Do not fill in missing printer values from memory. Common defaults vary from shop to shop.
- Do not set small text in rich black. It looks great on screen and soft on paper.
- Do not hand edit CMYK channels to pass an ink limit. Converting with the correct profile keeps the image balanced.
- Do not skip the hard proof. A clean preflight lowers risk, but the printer's proof is the final check.
Who it is for
Graphic designers, in house marketing teams, freelance brochure and packaging designers, and print buyers who send files to commercial offset printers and want fewer holds, fewer reprints, and a clear record of what was checked.
Related PromptDig links
Start with the Offset Print Preflight Spec Writer: PDF/X-4 Export Settings, Bleed and Safe Zone, Total Area Coverage Limit, Rich Black Build, Overprint Checks, and Effective PPI for a Commercial Printer Handoff prompt and paste your printer's spec sheet with your preflight report. For more design and production prompts, Browse more prompts. If you have a prepress or print checklist that saves you reprints, Share a prompt.