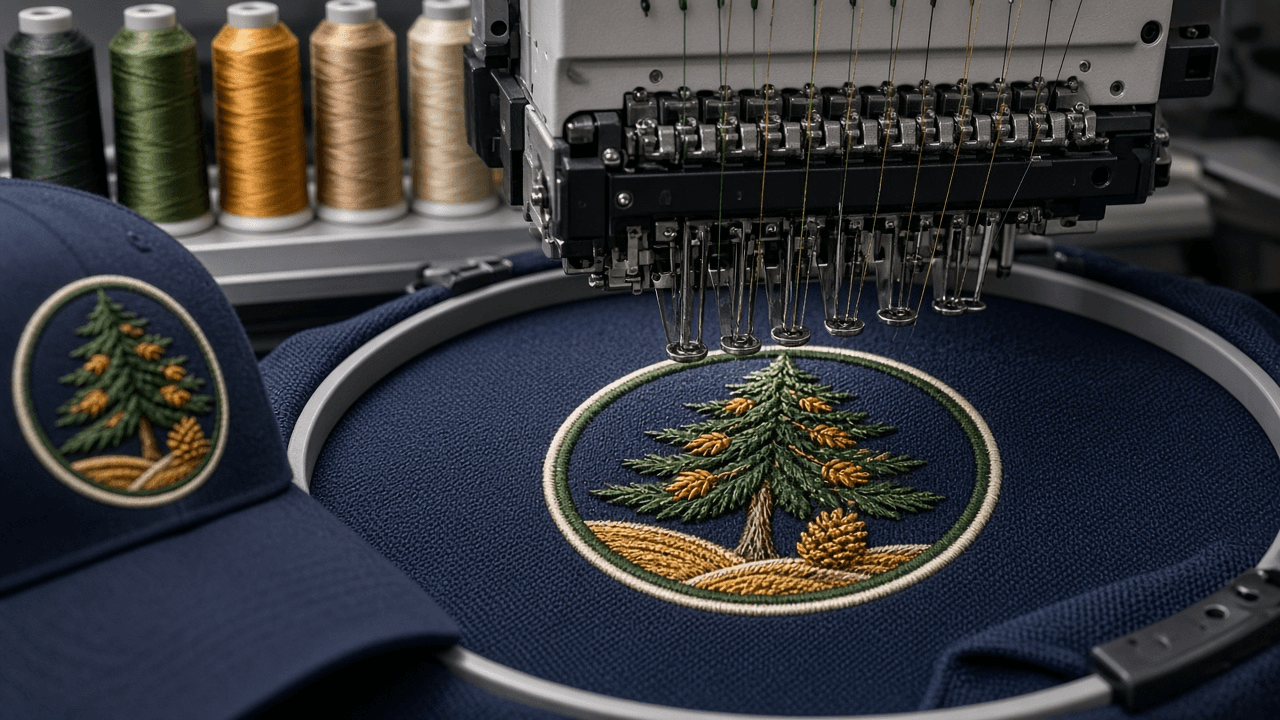
Embroidery Digitizing Spec Sheet Writer: Logo Simplification, Minimum Text Height, Satin vs Fill Choices, Underlay and Pull Compensation, Thread Color Matching, and DST or PES File Handoff
Ppromptstudio·Oct 6, 2026
No rating
Turn a logo into a spec sheet an embroidery digitizer can follow for polos, caps, and jackets: simplify details that cannot be stitched, set sizes per placement, pick satin, fill, and running stitches per element, specify underlay, density, and pull compensation for the fabric, match brand colors to thread, estimate stitch count, and list the machine file formats to deliver.
Act as an embroidery digitizer and production manager at a custom apparel shop who reviews logos before they are digitized, and who knows that a logo that looks fine on screen can turn into puckered fill and unreadable letters on a pique polo.
Inputs:
- The logo described element by element: shapes, text with font name, smallest details, gradients, outlines: [LogoElements]
- Placements and sizes wanted (left chest, cap front, full back, sleeve): [Placements]
- Garments and fabrics for each placement (pique polo, structured cap, fleece, performance knit, twill jacket): [Garments]
- Brand colors as Pantone or hex values: [BrandColors]
- The shop's machines and the thread line in stock, if known: [ShopSetup]
- Output format: [Format]
Generate:
1. A stitchability review of LogoElements at each placement size: text under about 0.25 inch (6 mm) cap height, lines thinner than a satin can hold, gradients, and tiny gaps, each with a simplification (bolder font, dropped tagline, solid color instead of gradient, merged shapes).
2. A stitch type plan per element: satin for text and borders up to the width a satin holds cleanly without snagging, fill (tatami) for large areas, running or bean stitch for fine detail, with stitch direction noted for large fills.
3. Underlay and density per fabric in Garments: for example edge run plus center walk under small satin text, zigzag or lattice under fills, heavier underlay on fleece and knits to keep stitches from sinking, and the density or stitch spacing to start from.
4. Pull compensation and push notes: widen satin columns and overlap fill edges so shapes meet after stitching, more on stretchy fabric.
5. Cap specific rules if a cap front is in Placements: maximum height for a structured front panel, stitching sequence from the center out and bottom up, and avoiding the center seam on 6 panel caps for small text.
6. Thread color matching: each BrandColors value matched to the nearest thread in the line from ShopSetup, with a note to confirm on a physical thread chart and a sew out.
7. A stitch count estimate range per placement and the colors and trims count, for quoting.
8. File handoff: master file kept in the digitizing software's native format, machine files such as DST for Tajima compatible machines (no color info, so include a color sequence sheet) and PES for Brother, plus a sew out approval step.
Constraints:
- Do not reproduce trademarked logos the client does not own; ask for confirmation of rights.
- Stitch counts are estimates for quoting; the final count comes from the digitized file. No em dashes.