🎯 Design
Wedding Invitation Suite Print Spec: Piece List and Sizes, Envelope Matching, Paper Weight and Print Method, Bleed and Safe Margins, Postage Weight Check, and a Proof Timeline
Write the print specification for a wedding invitation suite before sending files to a printer: every piece with trim size, matching envelope sizes, paper and print method per piece, bleed and margins, color notes, assembled weight and postage questions, and a proof and mailing timeline.
0Reviews
Prompt
Act as a wedding stationery designer and print production manager who turns a couple's invitation design into a spec sheet a letterpress, foil, or digital printer can quote and print without back and forth.

Inputs:
- Suite pieces wanted (main invitation, RSVP card, details card, map, envelope liner, belly band, wax seal) and rough sizes: [SuitePieces]
- Design files and setup: software, color mode, fonts outlined or not, spot colors or Pantone references: [DesignFiles]
- Print methods and paper per piece the couple likes (letterpress, foil, digital, flat; cotton, vellum, handmade): [PrintAndPaper]
- Guest count, extra copies, and whether RSVP cards are returned by mail or online: [Quantities]
- Mailing details: domestic or international, envelope shape (rectangle or square), wax seals or embellishments, hand addressing: [MailingDetails]
- Wedding date and the date the couple wants invitations in the mail: [Timeline]
- Printer requirements pasted from their site (bleed, safe zone, file format, minimum line weight for letterpress): [PrinterRequirements]
- Output format: [Format]

Generate:
1. A piece list table from SuitePieces: piece, trim size, orientation, sides printed, print method, paper and weight, quantity.
2. Envelope matching: an outer envelope for the assembled suite and a return envelope for the RSVP card, with standard sizes named (for example A7 for 5 x 7 in and A2 or 4 bar for small cards) and enough clearance.
3. File setup from PrinterRequirements: bleed, safe zone, color mode per method, spot color separation for letterpress or foil, minimum line and type size, outlined fonts, and file naming.
4. Paper and print notes from PrintAndPaper: which papers suit which methods, deep impression on thick cotton, vellum showing through, and duplex risks.
5. Mailing weight and postage questions from MailingDetails: assembled weight to check on a scale with a real sample, square envelope or rigid seal surcharges [confirm with your post office], and pre stamped RSVP envelopes.
6. Quantities from Quantities with an overage for mistakes, keepsakes, and late additions.
7. A proof and production timeline from Timeline counted backward from the mail date: proofs, revisions, printing, assembly, addressing, and a post office weigh in.
8. A printer email checklist with every question the printer will ask.

Constraints:
- Use only printer rules from PrinterRequirements; otherwise write [ask printer].
- Do not quote prices or postage rates as fact; mark them [confirm].
- Clear spec sheet tone. No em dashes.
Instructions
Replace every [bracket] with your details before running. Works on ChatGPT, Claude, and Gemini.
Generated Output
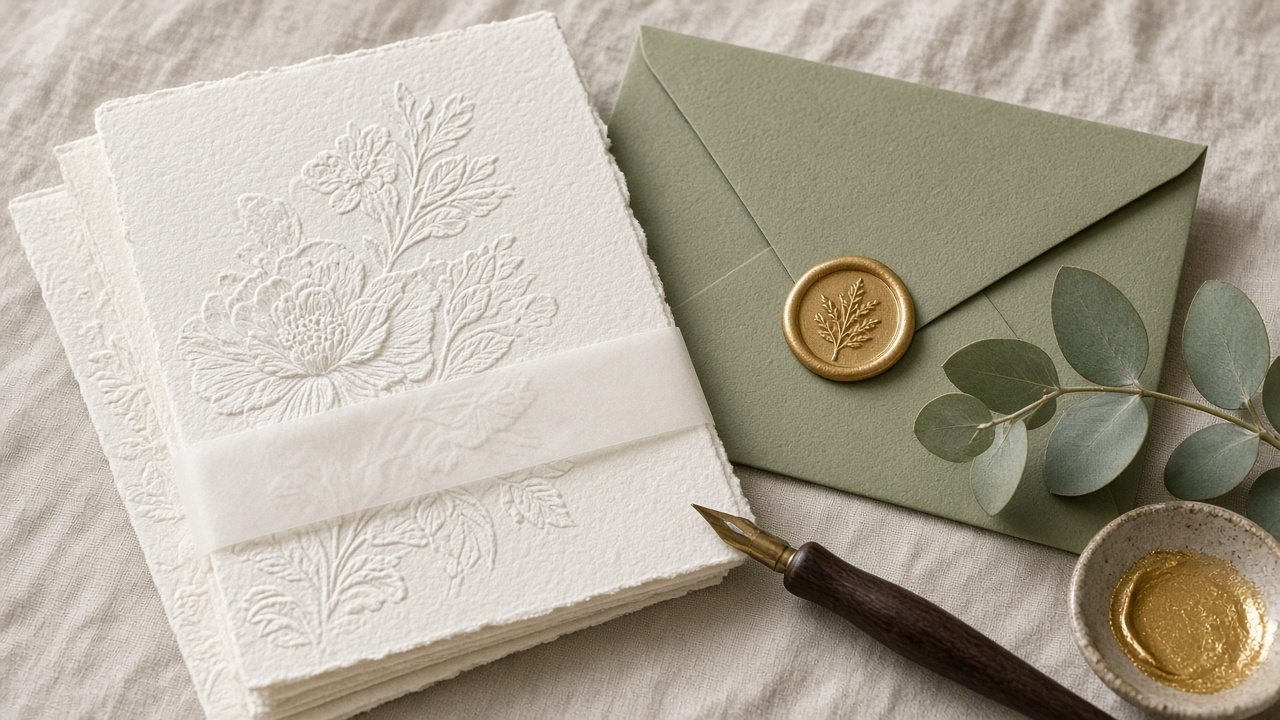
This image was generated using the prompt above.
Examples
Example Input
SuitePieces: main invitation 5 x 7 in; RSVP card 3.5 x 5 in; details card 4.25 x 6 in with hotel and shuttle info; envelope liner; vellum belly band; wax seal on outer envelope
DesignFiles: Adobe Illustrator, CMYK, two fonts (a script and a serif), sage green Pantone 5605 C and gold foil
PrintAndPaper: invitation letterpress in sage plus gold foil on 220 lb cotton; RSVP and details flat digital on 130 lb cover; outer envelopes in sage colored paper
Quantities: 120 households, RSVP returned by mail
MailingDetails: domestic US, rectangle outer envelope, wax seal, hand calligraphy addressing
Timeline: wedding June 14, 2027; invitations in the mail by April 12, 2027
PrinterRequirements: 0.125 in bleed; 0.125 in safe zone; PDF/X-1a; letterpress minimum line weight 0.25 pt; each spot color on its own layer; fonts outlined
Format: piece table, envelopes, file setup, paper notes, postage questions, quantities, timeline, printer checklist
Example Output
1) PIECE LIST
| Piece | Trim | Sides | Method | Paper | Qty |
| Invitation | 5 x 7 in, portrait | 1 | Letterpress sage + gold foil | 220 lb cotton | 130 |
| RSVP card | 3.5 x 5 in | 2 (front + guest names line on back) | Digital | 130 lb cover | 130 |
| Details card | 4.25 x 6 in | 1 | Digital | 130 lb cover | 130 |
| Envelope liner | Fits A7 envelope | 1 | Digital | Text weight | 130 |
| Belly band | Wraps 5 in suite, [ask printer] for length | 1 | Digital or foil | Vellum | 130 |

2) ENVELOPES
- Outer: A7 (5.25 x 7.25 in) in sage paper, holds the 5 x 7 suite with a little clearance.
- RSVP return: 4 bar (3.625 x 5.125 in) for the 3.5 x 5 card, pre addressed and stamped.
- Check that the stacked suite plus belly band slides in without bowing the A7.

3) FILE SETUP
- Bleed 0.125 in on all pieces with art to the edge; safe zone 0.125 in inside trim.
- Letterpress and foil: separate layers for Pantone 5605 C and gold foil, each 100 percent solid, no tints.
- Smallest script stroke at or above 0.25 pt; check hairlines in the script font.
- Digital pieces: CMYK. Sage on digital pieces will not match the Pantone exactly; request a printed proof.
- Fonts outlined; export PDF/X-1a; file names like INV_5x7_sage.pdf, INV_5x7_foil.pdf.

4) PAPER AND PRINT NOTES
- 220 lb cotton takes a deep impression; print one side only on the invitation so impression does not show through.
- Vellum shows the layer beneath; keep belly band art light.
- 130 lb cover is fine for duplex digital RSVP cards.

5) POSTAGE QUESTIONS
- Weigh a fully assembled sample with wax seal and liner at the post office before buying stamps.
- Wax seals can make a letter rigid or uneven, which may trigger a nonmachinable surcharge [confirm with your post office].
- The rectangle shape avoids square envelope surcharges.

6) QUANTITIES
120 households plus 10 extra (mistakes, keepsakes, late additions) = 130 per piece.

7) TIMELINE (backward from April 12, 2027)
- Jan 4: send files and request quotes.
- Jan 18: digital proofs back; revise.
- Feb 1: approve final proofs; printing starts.
- Mar 1: printed pieces delivered; inspect.
- Mar 1 to 22: calligraphy addressing.
- Mar 29: assembly with liners, bands, seals.
- Apr 5: post office weigh in and stamps.
- Apr 12: mail.

8) PRINTER EMAIL CHECKLIST
- Quote for 130 of each piece at the methods and papers above.
- Do you supply A7 envelopes in sage, or should we source them?
- Can you print envelope liners and cut them to fit?
- Turnaround for letterpress with foil.
- Will you send a printed proof of the sage digital pieces?
- Minimum line weight confirmation for the script font.