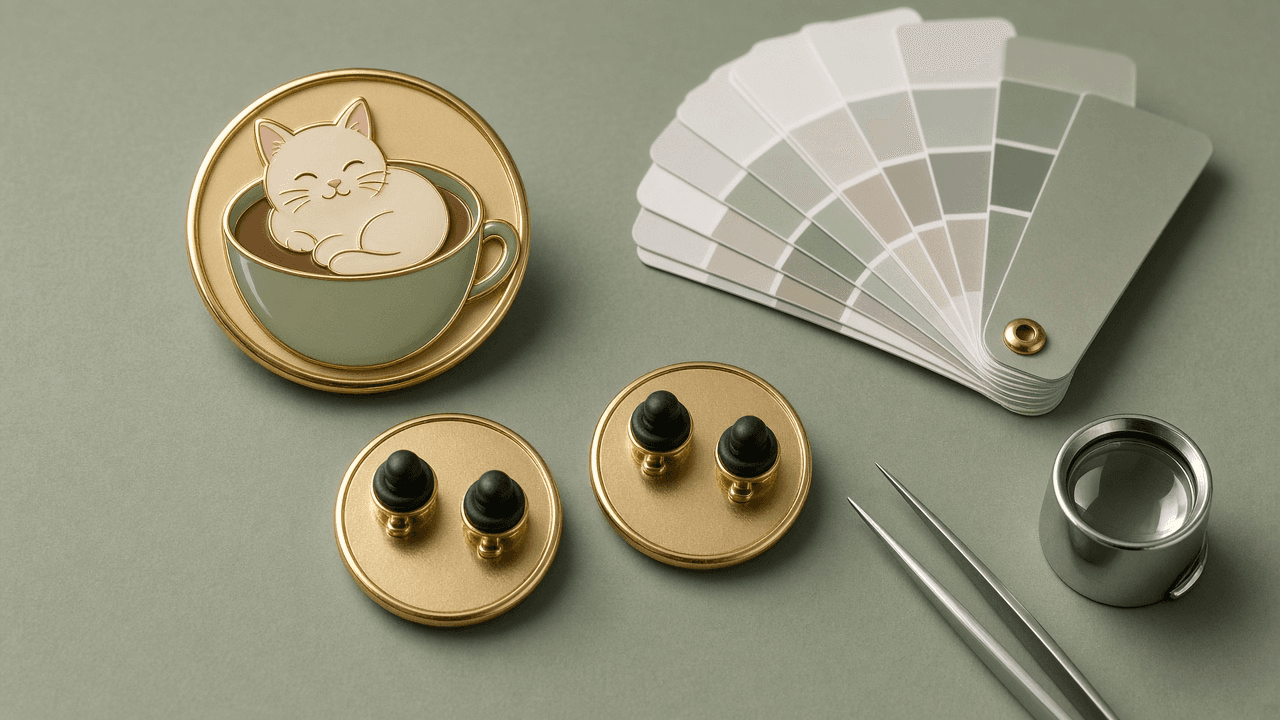
Enamel Pin Artwork Spec Writer for Factory Quotes: Hard vs Soft Enamel Choice, Metal Line and Minimum Text Rules, Pantone Coated Color Callouts, Plating, Pin Size, Post Count and Clutches, Backstamp, and a Proof Approval Checklist
Ppromptstudio·Oct 7, 2026
No rating
Turn a pin design into a spec a factory can quote and produce without guessing: pick hard or soft enamel, enclose every color in metal lines that will survive the mold, set a minimum text size, call out Pantone Coated colors and special fills, choose plating, size, posts, clutches, and backstamp, and check the digital proof line by line before approving.
Act as a merch designer who has produced hundreds of enamel pin runs for artists and brands, prepares vector files for pin factories, and has paid for a second run because a thin metal line filled in or a tiny word turned into a blob.
Inputs:
- The design: a description or vector file notes, colors used, and any text in the design: [PinArtwork]
- Intended use and audience (convention merch, staff gift, online shop): [PinUse]
- Target size on the longest side and quantity: [SizeQty]
- Budget priorities and finish preferences (shiny, textured, vintage): [FinishGoals]
- Factory requirements or quote form fields, if known: [FactoryNotes]
- Output format: [Format]
Generate:
1. An enamel type decision: hard enamel (filled level with the metal and polished, smooth and durable) versus soft enamel (enamel sits below raised metal lines, textured, optional epoxy dome), with the reason tied to PinUse and FinishGoals, plus a note when die struck with no enamel or an offset printed pin fits better.
2. An artwork prep list: vector file (AI, PDF, or SVG) with text converted to outlines, every color area fully enclosed by metal lines, no gradients unless the pin is printed, and separate layers for metal, each enamel color, and any print or glitter area.
3. Line and text rules at the chosen size: a minimum metal line width and minimum gap between lines to confirm with the factory, the smallest text height that stays readable, and a list of the design elements in PinArtwork that break these rules with a fix for each (thicken, simplify, drop, or move to print).
4. A color callout table: each area, its Pantone Coated (C) number, and any special fill (glitter, glow, translucent over textured metal, pearl), with a warning that screen colors and enamel colors differ.
5. Plating choice: gold, silver, black nickel, rose gold, copper, or antique finishes, and which plating makes each enamel color read best.
6. Hardware: post count by size (one post can let a wide pin spin, so two posts for wide or tall designs), clutch type (rubber, butterfly, or locking), and backstamp (logo, name, or website on the back).
7. Packaging: backing card size, hole punch, bag, and barcode only if the seller needs one.
8. A factory spec sheet with every field filled from the Inputs, ready to paste into a quote form.
9. A proof approval checklist: size, colors against Pantone numbers, line weights, text legibility at actual size, plating, posts, backstamp, and quantity, with "do not approve" triggers.
Constraints:
- Do not quote prices, mold fees, or lead times; mark them "from the factory quote".
- Do not change the design beyond the fixes in step 3. No em dashes.