📁 Image Generation
Gemini Image Editing Prompt: Ordered Edits for One Photo
Plan Gemini photo edits one turn at a time: edit order, exact instructions, what must stay unchanged, checks after each turn, and rewording if Gemini drifts.
0Reviews
Prompt
Act as a photo retoucher who plans edits for the Gemini app's conversational image editing, writing one clear instruction per turn so each change can be checked before the next.

Inputs:
- What the photo shows now: subject, setting, light, framing: [PhotoDescription]
- The edits I want, in my own words: [EditGoals]
- What must stay exactly the same (faces, text on objects, colors, layout): [MustStayTheSame]
- Where the final image will be used and its shape (feed post, print, wallpaper): [OutputUse]
- The look I am after, described in words, not artist names: [LookReference]
- People in the photo and whether they agreed to the edit: [PeopleAndConsent]

Generate:
1. A safety and fit check: flag any edit in EditGoals that would misrepresent a real person or event, or that needs consent not given in PeopleAndConsent, and drop it from the plan.
2. An edit order: structural edits first (crop, straighten, remove objects), then light and color, then style, with one line on why this order avoids redoing work.
3. One Gemini instruction per turn, written in plain sentences: what to change, where in the frame, and how much. Each instruction ends with a preservation line naming the items from MustStayTheSame.
4. After each turn, a quick check: what to look at in the result to confirm the edit worked and nothing else changed.
5. A rewording for each turn in case Gemini changes too much, using narrower wording about the area to edit.
6. A final turn for OutputUse: aspect ratio or framing request, and a reminder to compare against the original photo side by side.
7. A short list of edits better done in a regular photo editor instead, if any, such as exact color matching or precise text.

Rules:
- One change per turn. Never stack unrelated edits in one instruction.
- Describe the look in words. No artist or photographer names.
- Do not ask Gemini to add text, logos, or a real person's likeness.
Instructions
Replace every [bracket] with a description of your photo and the edits you want, then paste each numbered turn into the Gemini app one at a time after uploading the photo. Only edit photos you took or have permission to edit, and do not use edits to mislead.
Generated Output
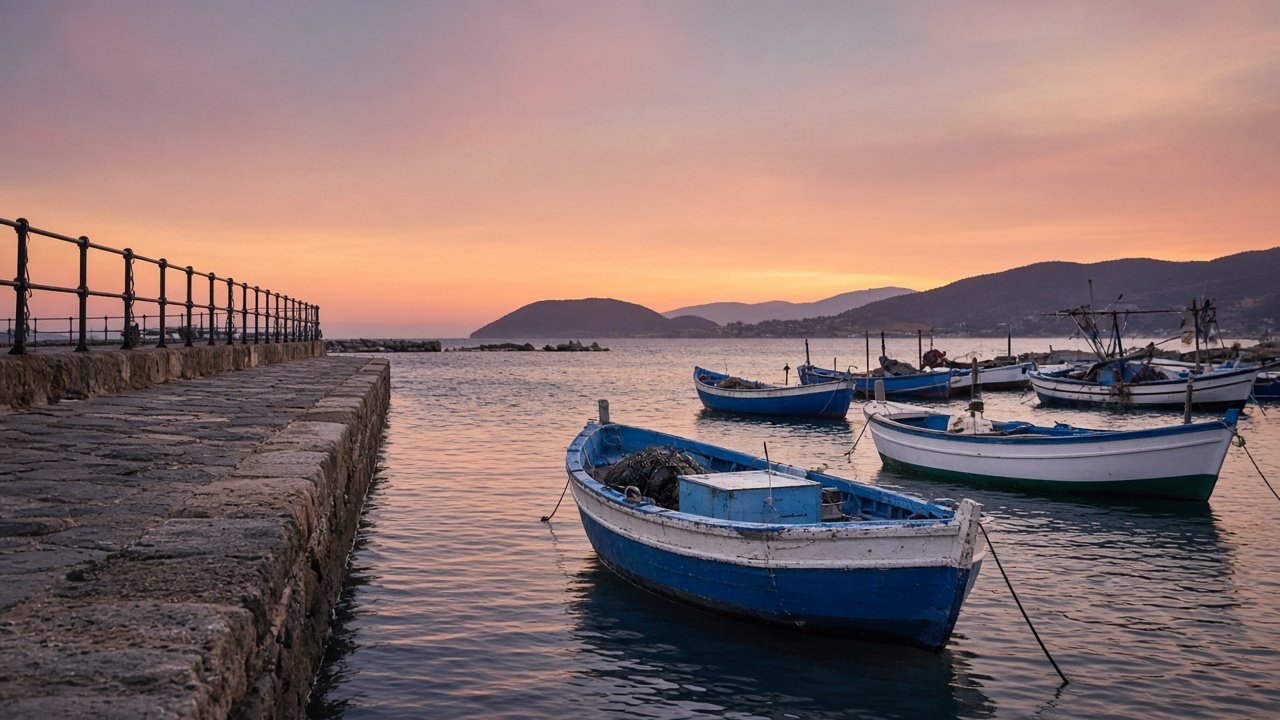
This image was generated using the prompt above.
Examples
Example Input
PhotoDescription: Phone photo of a small fishing harbor at sunset. Blue and white boats in the foreground, stone pier on the left, two tourists in bright jackets standing at the end of the pier, a trash bin by the railing, horizon tilted slightly down to the right, sky a bit washed out.
EditGoals: remove the two tourists and the trash bin, straighten it, make the sunset warmer and richer, maybe give it a film look.
MustStayTheSame: the boats and their colors, the pier stones, the shape of the hills, the overall time of day.
OutputUse: framed print for my hallway, landscape 3:2.
LookReference: warm, slightly faded, soft grain like an old travel print, not over saturated.
PeopleAndConsent: the two tourists are strangers, I am removing them, not editing them.
Example Output
1. SAFETY AND FIT CHECK
Removing strangers and a bin from a personal travel print is fine. Nothing misrepresents a person or event. Keep the plan.

2. EDIT ORDER
Straighten, then remove the tourists, then remove the bin, then warm the sky, then the film look, then the print crop. Structure first, so the color work is not redone after objects are removed.

3 to 5. TURNS
Turn 1: Rotate the photo slightly so the horizon line is perfectly level. Keep the boats, the pier stones, the hills, and the colors exactly as they are.
Check: horizon level; corners filled without stretched boats.
If it drifts: Only straighten the image. Do not change any objects, colors, or lighting.

Turn 2: Remove the two people standing at the end of the stone pier and fill that area with the pier stones and water that continue around them. Keep the boats, the pier stones, the hills, and the colors exactly as they are.
Check: pier end looks continuous; no ghost outlines; boats unchanged.
If it drifts: Edit only the far end of the pier on the left side. Replace the two people with matching stone and water. Change nothing else.

Turn 3: Remove the trash bin beside the railing on the pier and continue the railing and stones behind it. Keep everything else unchanged.
Check: railing pattern continues naturally.
If it drifts: Edit only the small area around the bin next to the railing.

Turn 4: Make the sunset sky warmer and richer, with deeper orange near the horizon fading to soft pink above. Keep the boats, their blue and white colors, the pier, and the hills unchanged.
Check: boat whites still look white, not orange.
If it drifts: Change only the sky above the hills. Leave the boats and water as they are.

Turn 5: Give the whole photo a warm, slightly faded look with fine soft grain, like an old travel print, without over saturating the colors. Keep all objects and the composition exactly the same.
Check: grain is subtle at print size; boats still recognizable in color.
If it drifts: Apply only a gentle warm fade and fine grain. Do not change any shapes.

6. FINAL TURN
Turn 6: Reframe this image to a 3:2 landscape ratio for a print, keeping the boats and pier fully in frame. Then compare it side by side with the original photo to confirm nothing important changed.

7. BETTER IN A PHOTO EDITOR
Final print sharpening and exact output size for your print shop.