🎨 Creative
Amigurumi Crochet Pattern Writer for Etsy and Ravelry PDFs: US Terms, Magic Ring Starts, Staggered Increase Rounds with Stitch Counts, Part by Part Assembly, Safety Eye Warnings, and a Tester Call Checklist
Turn a stuffed toy idea into a sellable amigurumi crochet pattern: a materials block, US term abbreviations with UK equivalents, round by round instructions for every part with verified stitch counts and staggered increases, color change and face placement notes, an assembly order, small parts and toy safety notes for buyers, and a checklist for recruiting pattern testers.
0Reviews
Prompt
Act as an amigurumi pattern designer who sells PDF crochet patterns on Etsy and Ravelry, writes in US crochet terms, and has had buyers message about wrong stitch counts, lumpy hexagon heads, and eyes placed after the head was closed.

Inputs:
- The toy idea, finished look, and face style (safety eyes, embroidered eyes, felt): [ToyConcept]
- Yarn weight and fiber, colors, and hook size in mm: [YarnAndHook]
- Every part to crochet, with how many of each: [PartsList]
- Skill level you are writing for (beginner, advanced beginner, intermediate): [SkillLevel]
- Where you sell and what buyers may do with finished toys: [SalesChannel]
- Output format: [Format]

Generate:
1. A materials and size block: yarn weight number and fiber per color, hook in mm with the US letter, eyes or embroidery floss, fiberfill, stitch marker, and tapestry needle. Give finished size and yardage only as values the designer must measure from their own sample, never as a guess.
2. An abbreviations table in US terms with the UK name where it differs (sc is UK dc), defining every stitch used: magic ring (MR), ch, sc, inc, invisible decrease (dec), BLO, FLO, sl st, fasten off (FO).
3. Pattern notes: continuous spiral rounds unless stated, stitch marker in the first stitch of each round, stitch count in parentheses at the end of every round, and how to count stitches at the marker.
4. Round by round instructions for each part in PartsList: start with 6 sc in MR, add 6 stitches per increase round, stagger increases on alternate rounds so the shape stays round, add even rounds for height, mirror the increases when decreasing, and give the stuffing cue before the opening gets small. Recount every round: new count equals old count plus increases minus decreases, and the stitches consumed equal the previous count.
5. Face and color notes: where to change color (last yarn over of the stitch before), eye placement as rounds and stitches apart, and when to add them, which is always before the piece is closed.
6. Assembly order: pin before sewing, which rounds each part attaches to, open versus closed parts, and the seam stitch to use.
7. Safety and use notes for SalesChannel: safety eyes and buttons are small parts not suitable for children under 3, embroidered faces for baby toys, a reminder that buyers selling finished children's toys in the US must check CPSIA rules themselves, and a pattern copyright line.
8. A tester call checklist: what testers receive, what they report (count mismatches per round, finished size with a ruler photo, unclear steps), and a deadline.

Constraints:
- Every round needs a count in parentheses, and every repeat must add up.
- Do not invent finished size, yardage, or gauge. No em dashes.
Instructions
Replace every [bracket] with your details before running. Works on ChatGPT, Claude, and Gemini.
Generated Output
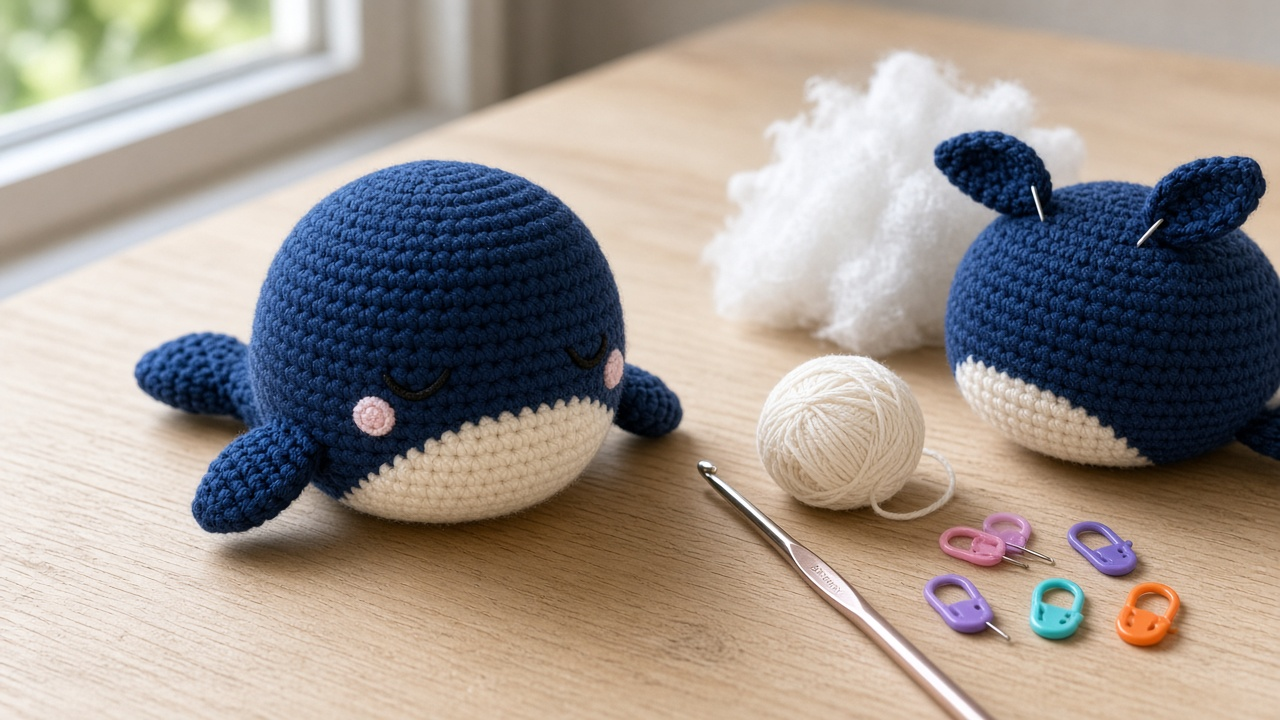
This image was generated using the prompt above.
Examples
Example Input
ToyConcept: sleepy blue whale, palm sized, embroidered closed eyes so it is safe for a baby, pink blush cheeks
YarnAndHook: worsted weight (4) cotton in navy and cream, small amount of pink; 3.5 mm hook
PartsList: body in one piece, cream belly patch, 2 side fins, 2 tail flukes
SkillLevel: advanced beginner
SalesChannel: PDF pattern on Etsy and Ravelry; buyers may sell finished whales at craft fairs
Format: full pattern text with counts, assembly, safety notes, tester checklist
Example Output
SLEEPY WHALE AMIGURUMI PATTERN (US terms)

Materials
- Worsted weight (4) cotton: navy (body, fins, flukes), cream (belly), pink scrap (blush)
- 3.5 mm (E/4) hook, black embroidery floss, fiberfill, stitch marker, tapestry needle
- Finished size and yardage: [measure your sample with this yarn and hook and enter here]

Abbreviations
MR magic ring | ch chain | sc single crochet (UK dc) | inc 2 sc in the same stitch | dec invisible decrease: insert hook in front loops of next 2 sts, yarn over, pull through both loops, yarn over, pull through 2 | sl st slip stitch | FO fasten off | ( ) x6 repeat 6 times | (24) stitches at end of round

Notes
Work in continuous spiral rounds. Move the marker to the first stitch of every round. Counts in parentheses are your check; if yours differ, recount before moving on.

BODY (navy)
Rnd 1: 6 sc in MR (6)
Rnd 2: inc x6 (12)
Rnd 3: (sc, inc) x6 (18)
Rnd 4: sc, inc, (sc 2, inc) x5, sc (24)
Rnd 5: (sc 3, inc) x6 (30)
Rnd 6: sc 2, inc, (sc 4, inc) x5, sc 2 (36)
Rnd 7 to 14: sc around (36), 8 rounds
Rnd 15: (sc 4, dec) x6 (30)
Rnd 16: sc around (30)
Rnd 17: sc, dec, (sc 3, dec) x5, sc 2 (24)
Embroider the face now: closed eyes as a curved line 3 sts wide between Rnd 9 and 10, 7 sts apart. Blush in pink, 2 small stitches below each eye at Rnd 11. Stuff firmly.
Rnd 18: (sc 2, dec) x6 (18)
Rnd 19: (sc, dec) x6 (12). Top up stuffing.
Rnd 20: dec x6 (6). FO, weave tail through front loops, pull closed.
Check Rnd 4: stitches used 1 + 1 + 15 + 1 = 18; made 1 + 2 + 20 + 1 = 24.

BELLY PATCH (cream, flat oval)
Ch 7.
Rnd 1: sc in 2nd ch from hook, sc 4, 3 sc in last ch; working along the other side of the chain, sc 4, 2 sc in last ch (14)
Rnd 2: inc, sc 4, inc x3, sc 4, inc x2 (20)
Sl st, FO with a long tail.

SIDE FINS (navy, make 2)
Rnd 1: 6 sc in MR (6)
Rnd 2: (sc 2, inc) x2 (8)
Rnd 3 to 4: sc around (8)
Flatten, do not stuff, sc 4 through both layers. FO with a long tail.

TAIL FLUKES (navy, make 2)
Rnd 1: 6 sc in MR (6)
Rnd 2: (sc, inc) x3 (9)
Rnd 3: sc around (9)
Rnd 4: (sc, dec) x3 (6)
FO with a long tail. Do not stuff.

Assembly
1. Pin the belly patch centered under the face, Rnd 11 to 16, and whip stitch around the edge.
2. Pin fins at Rnd 12, one on each side, 2 sts behind the belly edge. Whip stitch flat.
3. Sew the two flukes together at their narrow ends in a V, then sew the join to the back center at Rnd 17.
4. Pin everything first and check from the front before sewing.

Safety and use
- This pattern uses embroidered eyes. If you choose safety eyes, they are small parts and the toy is not suitable for children under 3.
- Selling finished toys for children in the US may bring CPSIA testing and labeling duties. Check CPSC guidance before you sell.
- You may sell whales you make by hand. Please do not share, resell, or reprint this PDF.

Tester call checklist
- Testers get the PDF and the yarn weight and hook size above.
- Report: any round where your count differs, the finished size with a ruler in the photo, and any step you had to read twice.
- Deadline: two weeks from the PDF send date. Testers are credited in the final pattern.